
It occurred to me the other day that I use the butterfly knot very frequently. In truth, it’s one of my favorite knots. I use it for everything from securing a ridgeline for a shelter to making an improvised traction splint to treat a broken femur.
The butterfly knot, or butterfly loop as it is also called, forms a fixed loop along the length of the rope. It will handle tension in all three directions and doesn’t jam very easily. One of the more unique uses of this knot is in isolating a damaged section of rope.
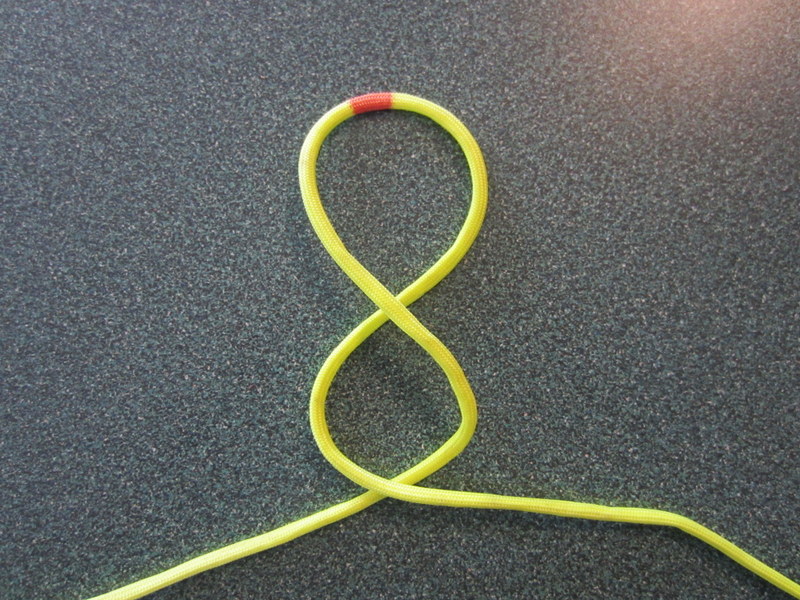
It’s not very difficult to tie, so why not learn this handy knot right now? I’ve colored a piece of the line red to help you keep track of how the knot is tied.
 The first thing you need to do is turn the line twice, in the same direction, forming a figure 8.
 Now fold the top loop down, behind the rest of the line.
 Now pull the red portion of the line up through the center.
 Which should look like this…
 Finish the knot by pulling the line taught on both sides.

And there you have it! There are other ways to tie this, but this is the way that I’m most familiar with.

Pingback: How To Build A Noose Stick | Survivor Medic·
Pingback: How To Make A Glowstick Alarm | Survivor Medic·
I had never known this knots true name, I was just taught it as a kid by my Dad as the twist and flip knot. Used it all the time to put a loop in a line for quickly tieing a boat line to a pier hook and while camping like for fly lines over a stake.
Also often called the “alpine butterfly”. Quite useful, though I tie it differently then shown here.
The only thing to remember is that if it’s part of a moving system, you will have to “pass” the knot at some point.
Thanks
Pingback: How To Tie A Butterfly Knot » Staying Prepared·